01253 209999

Complete guide to the Oase LunAqua Connect System

If you’re looking to transform your garden, pond, or outdoor feature after dark, the Oase LunAqua Connect system is one of the most flexible and professional-looking lighting solutions available. Designed for easy set up and customisable expansion, it allows you to build a lighting setup that grows with your garden.

In this guide, we’ll walk through the Oase LunAqua Connect system and the lighting options available. We’ll cover all of the components available from white and colour spotlights, to power supplies, controllers and cabling. Everything is ‘plug-and-play’, so any LunAqua Connect system is easy to install even if you have no electrical experience.

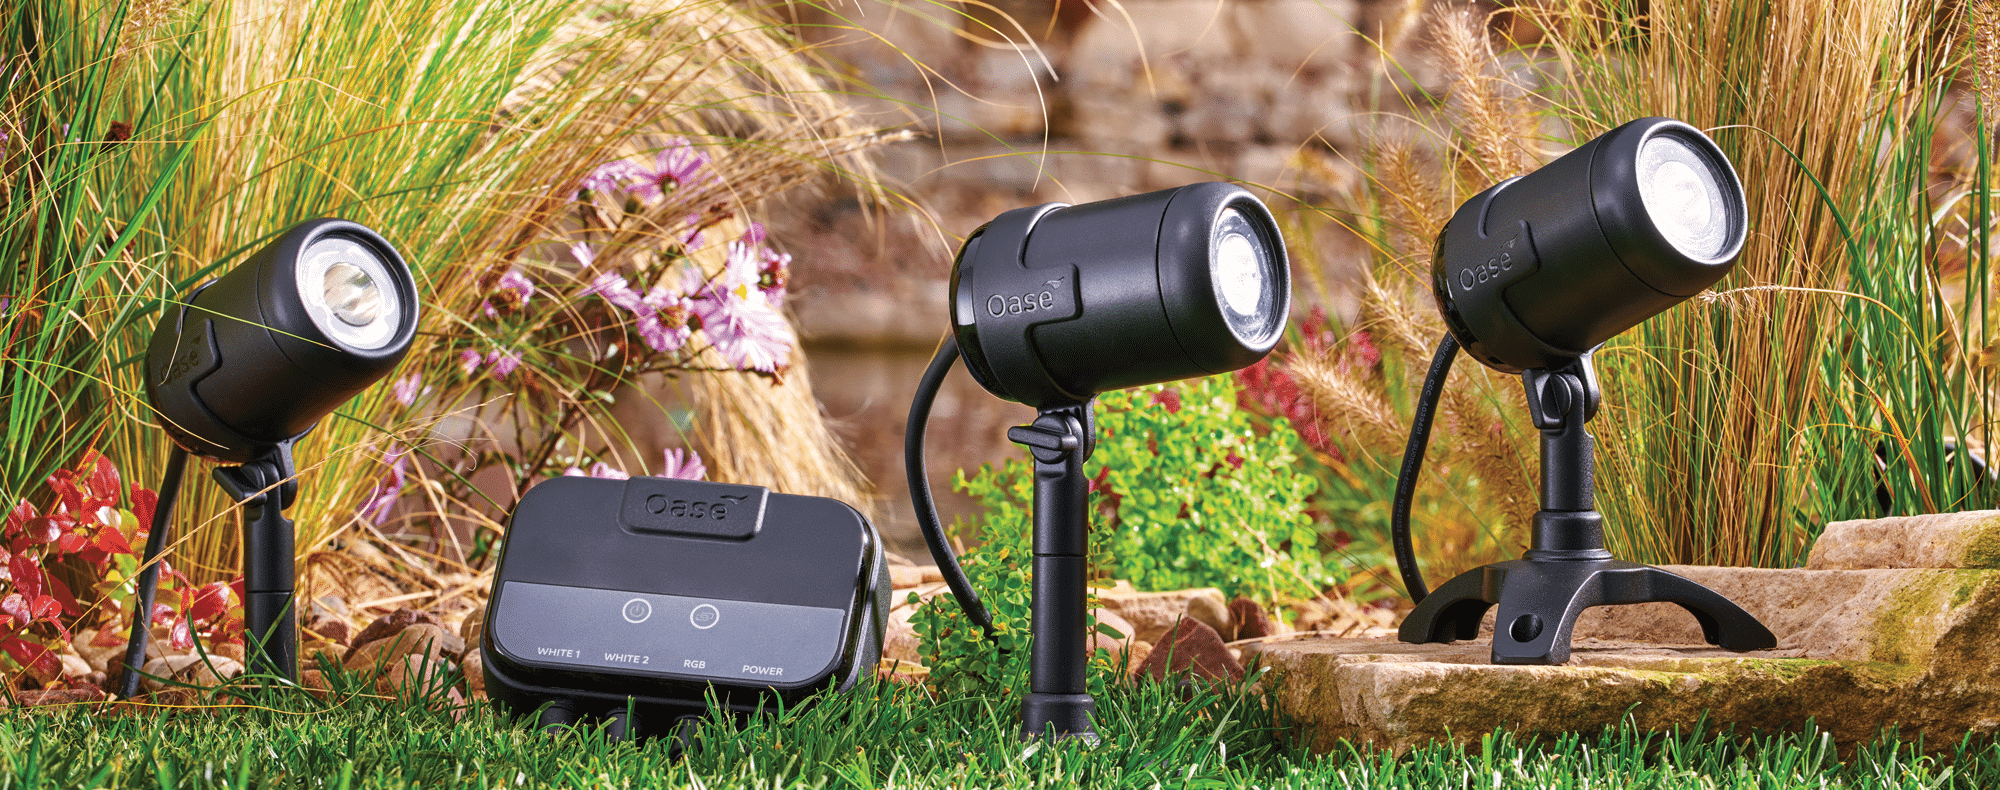
The Oase LunAqua Connect system is a modular lighting system for gardens and ponds. The spotlights come in warm white and RGB, are fully submersible, and can be controlled via a mobile app.

What is the Oase LunAqua Connect system?

Oase LunAqua Connect system is a modular 12‑volt ‘water safe’ pond and garden system. Unlike traditional garden lights that require individual transformers or complex wiring, LunAqua Connect uses a plug‑and‑play approach. This makes it ideal for ponds, water features, trees, sculptures, paths, and architectural highlights.

The key benefits include:

  • Warm white and RGB colour spotlights
  • Optional remote control via a mobile app when you include a switch controller
  • Safe low‑voltage operation (12 V)
  • IP68 submersible and weatherproof lights
  • Simple connectors for quick installation (IP67)
  • Expandable design — add lights and extend cables whenever you want

Components you’ll need

Before you begin installation, it’s important to understand the core parts of the system:

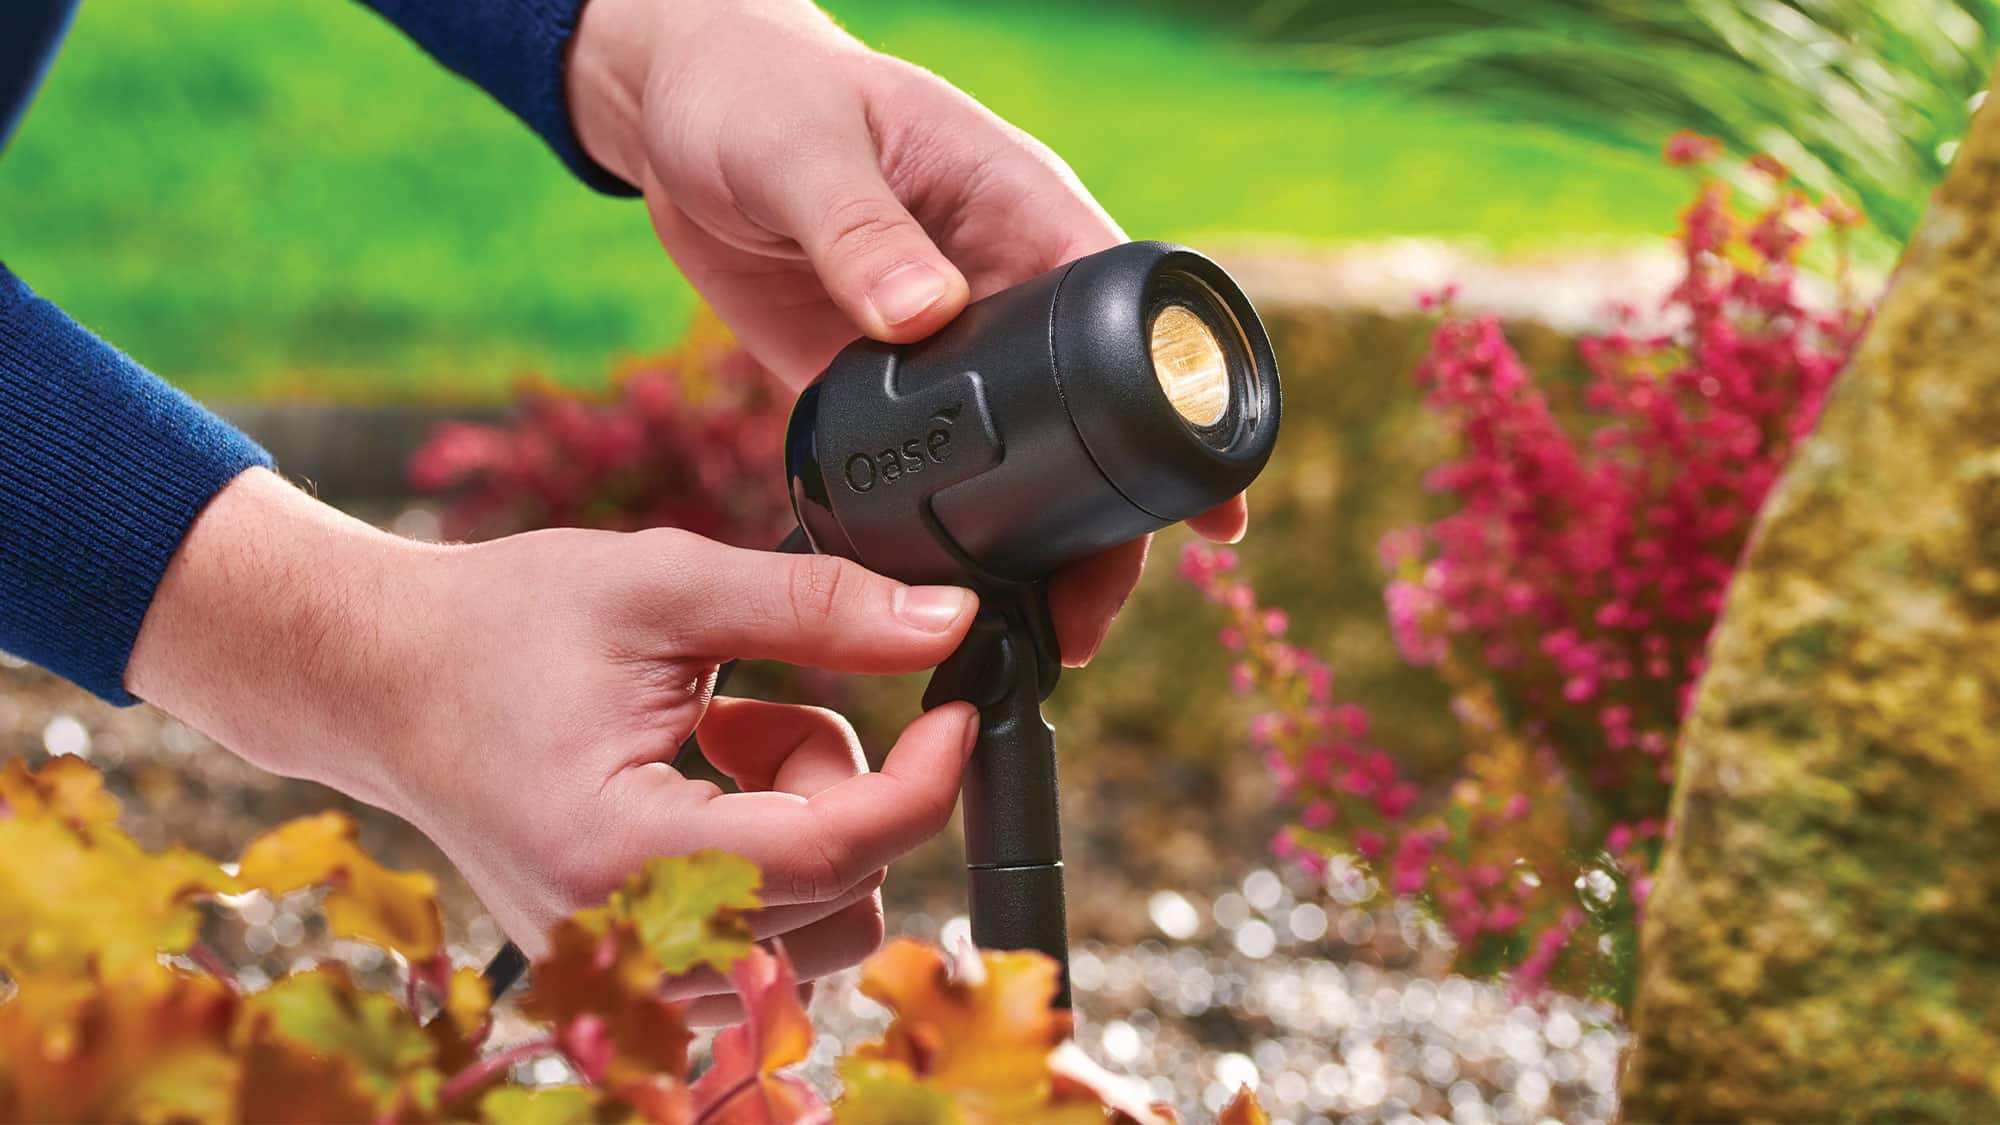
LunAqua Connect Solo lights

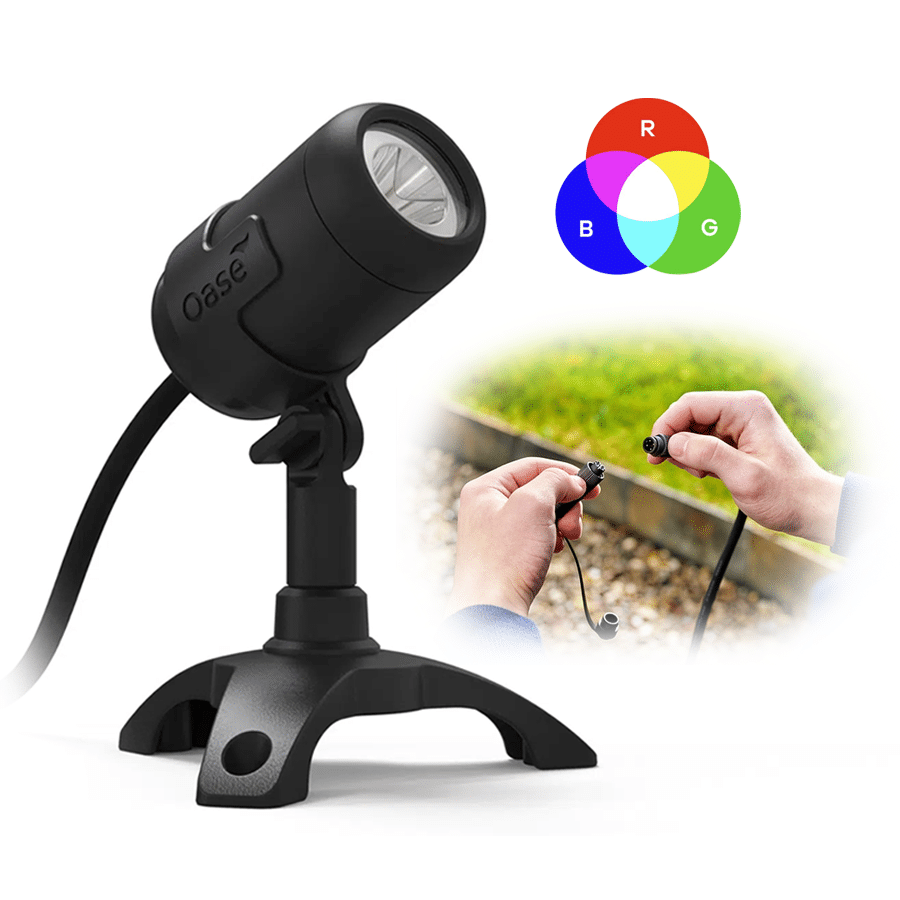
The Connect Solos are the light units themselves. They come in various styles and brightness levels, they are suitable for use in or out of water.  Make sure that any connections are not in the water (as these are only splash proof). The standard lights come with 3m long cables with IP67 connections on the end. All lights are supplied with a weighted base and a ground spike as well as a small stand extension. The white lights have 2 pin connections and the RGB lights have 4 pin connections. These connect to a cabling system that is specific to either white or RGB lights. However you can combine both white and RGB lights in a single installation.

LunAqua Lights for blog Recovered

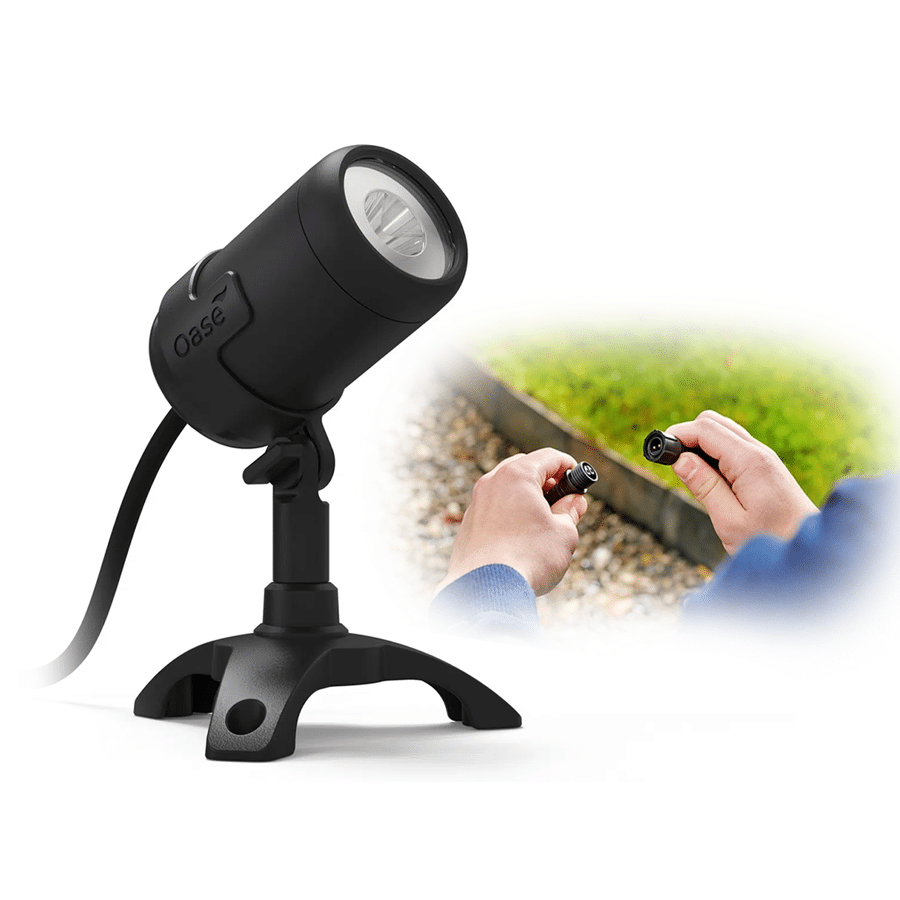
LunAqua Connect S Solo White Light has a brightness of 150 lumens, 2.5W and a beam angle of 30°

LunAqua Lights SM

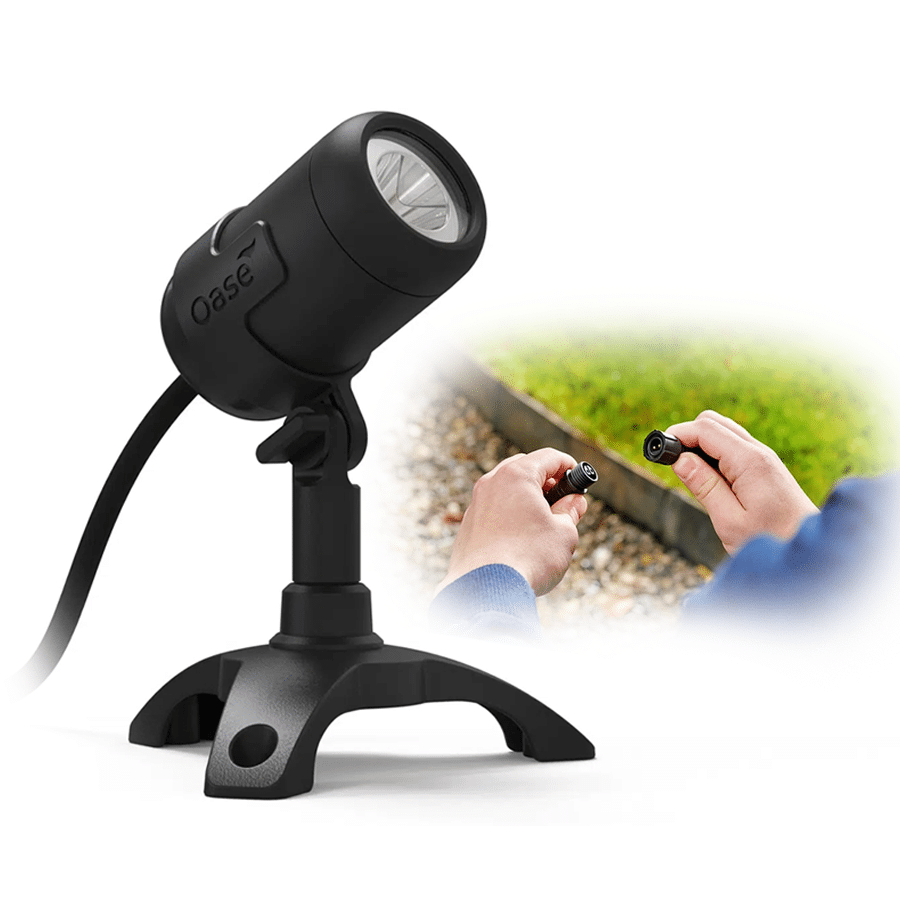
LunAqua Connect M Solo White Light has a brightness of 250 lumens, 4W and a beam angle of 30°

LunAqua Lights SL

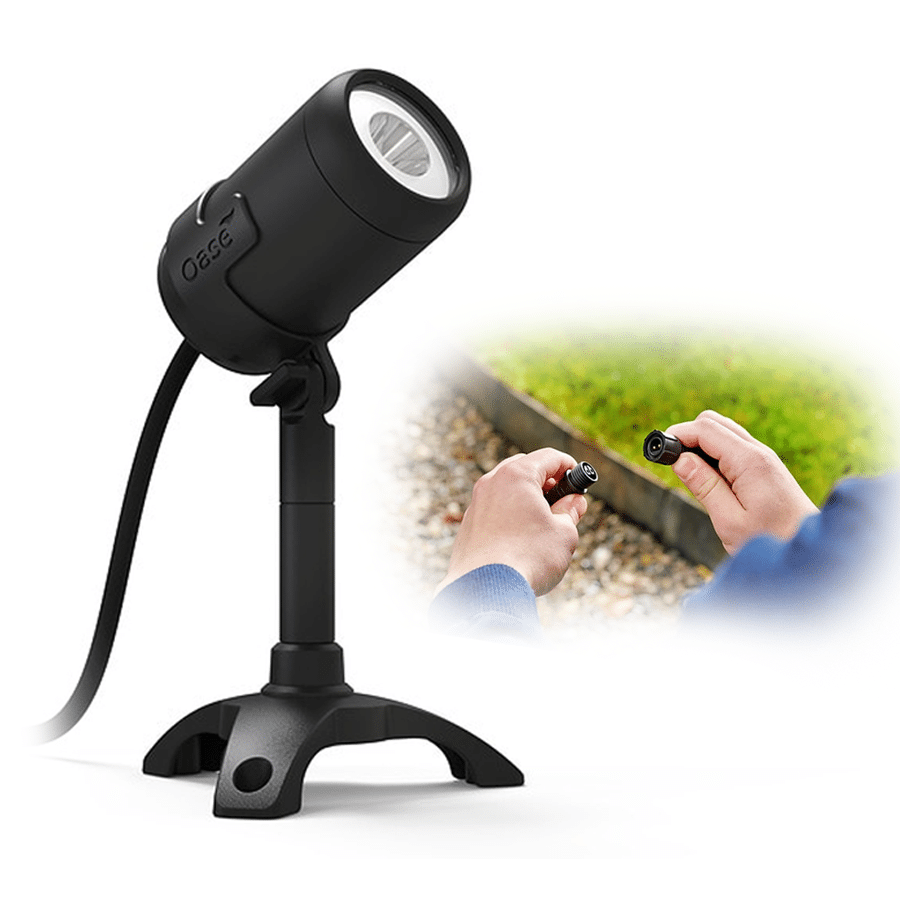
LunAqua Connect L Solo White Light has a brightness of 500 lumens, 6.5W and a beam angle of 30°. This is a powerful light for illuminating large areas. 

LunAqua Lights RGB

LunAqua Connect M Solo RGB Light has a brightness of 200 lumens, 7.5W and a beam angle of 30° you will need the LunAqua Connect Switch Controller for these lights.

LunAqua Connect Power Supply (Transformer)

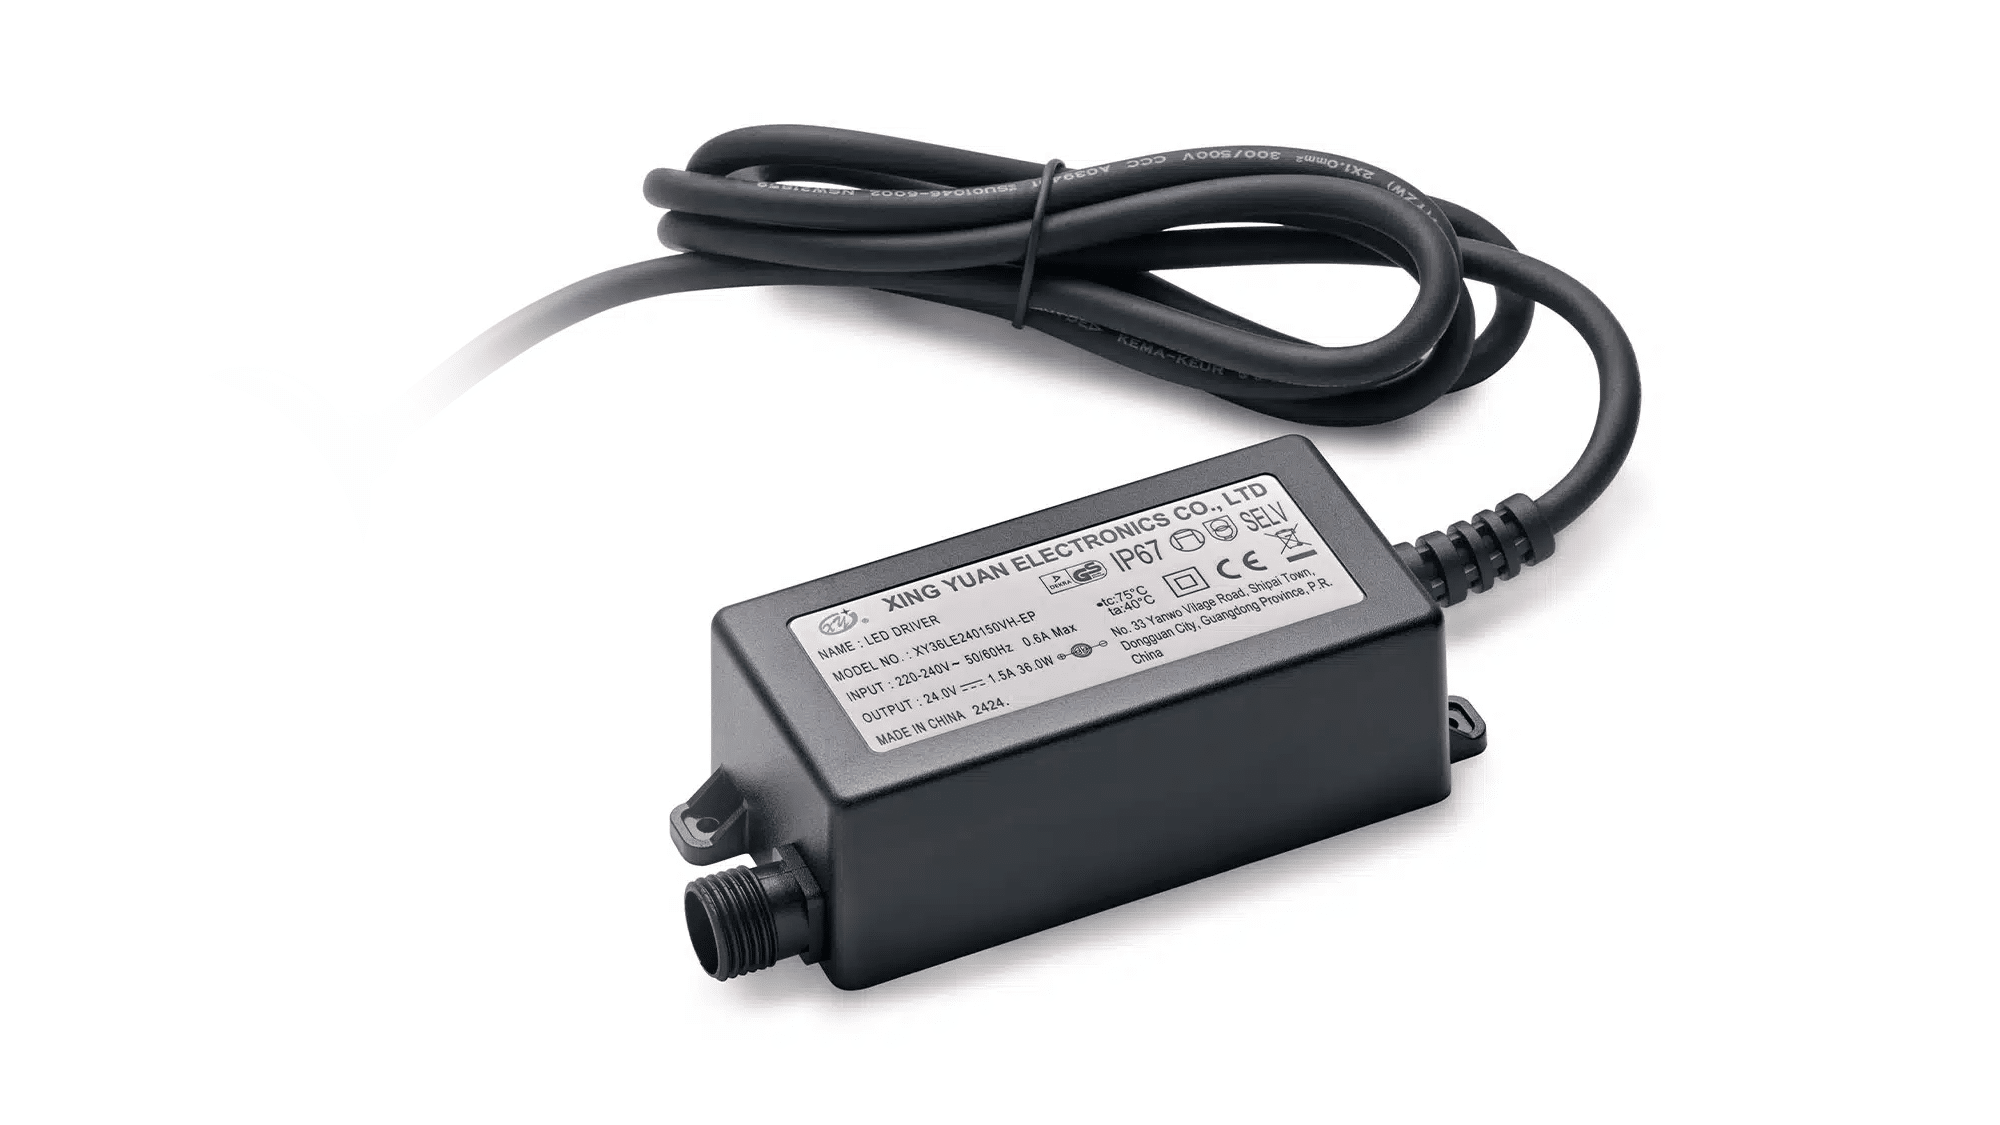
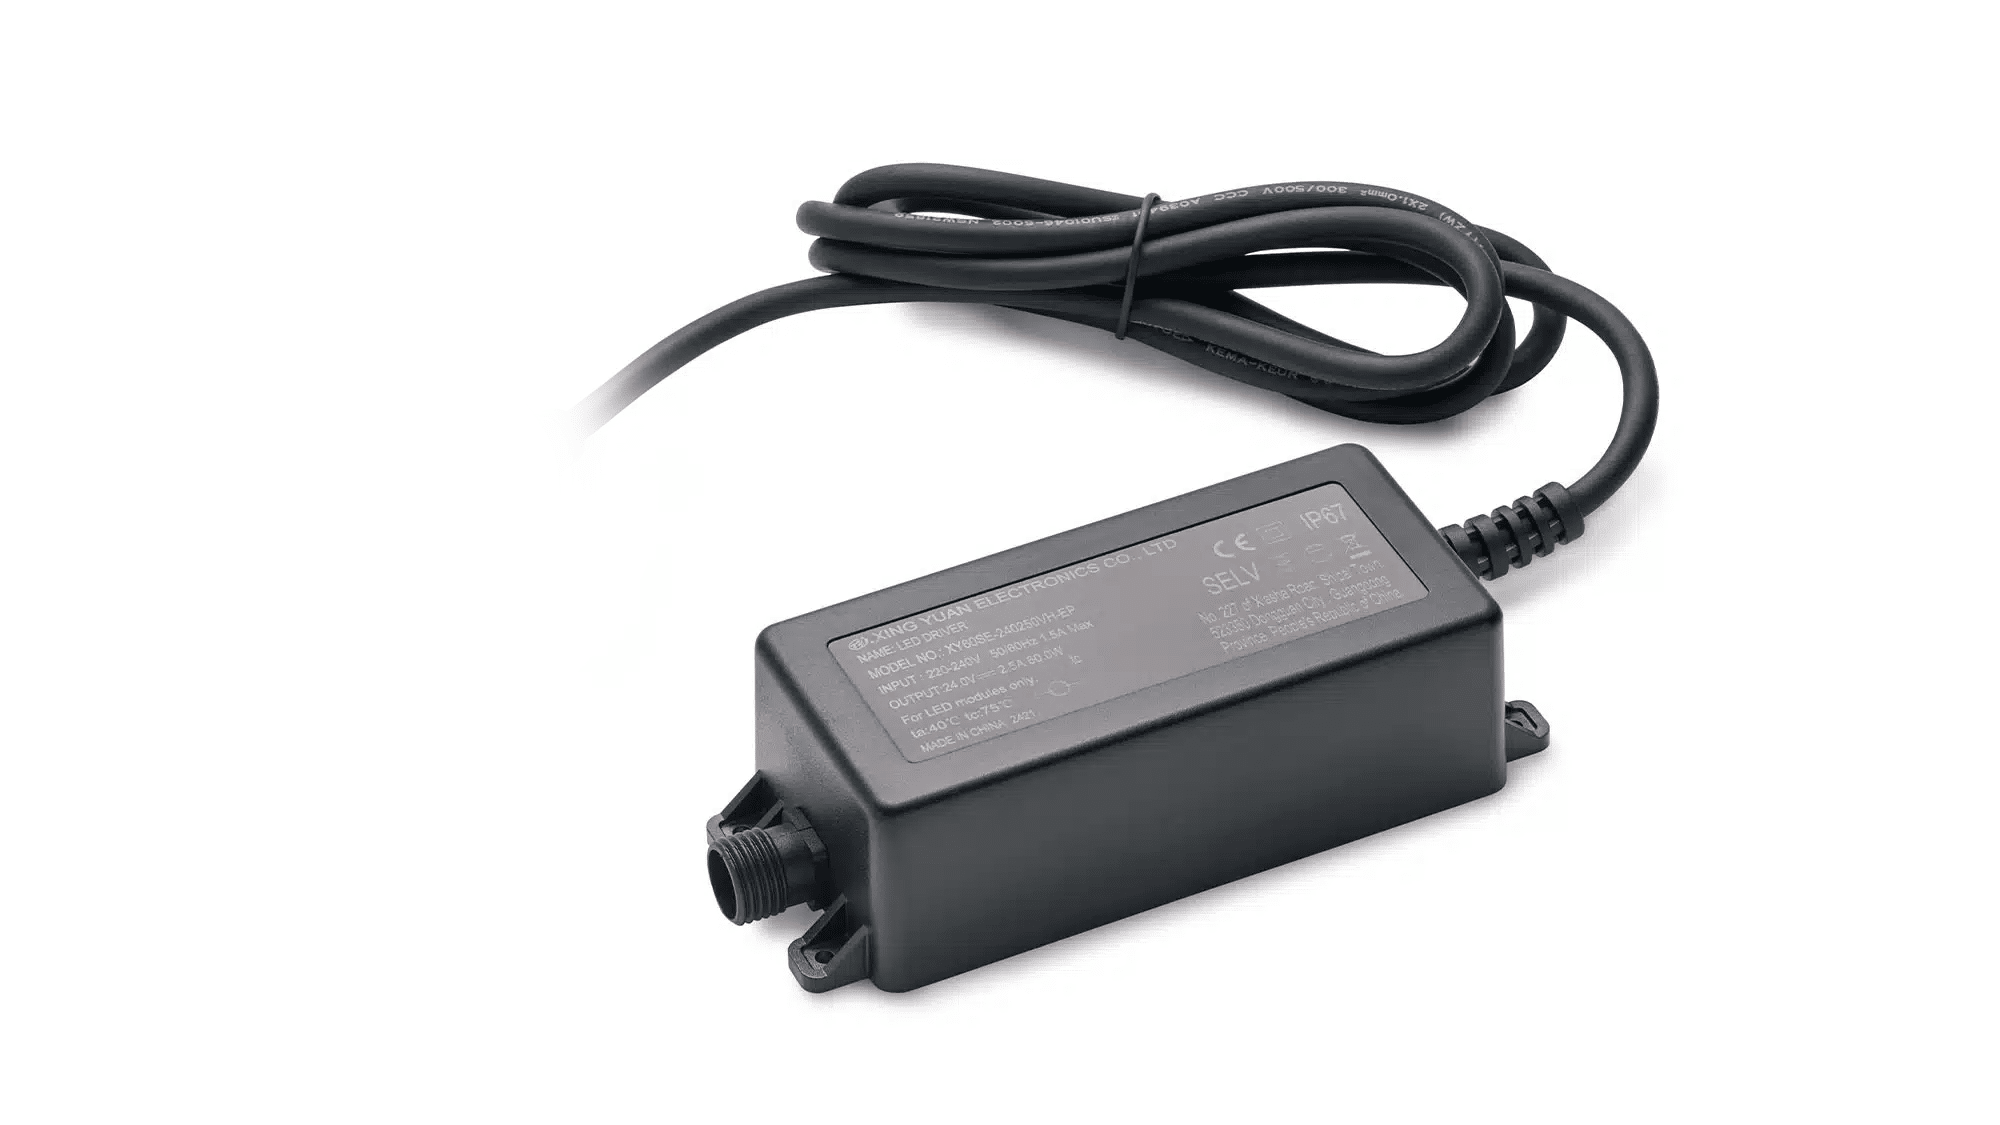
The LunAqua Connect Power Supplies converts mains power down to 12V, making it safe for wildlife and fish, and people for use in swim ponds. The power supplies are available in either 36W or 60W. This is the maximum wattage of your combined spotlights that your system can support.

36W power

LunAqua Connect Power Supply 36W. It will allow you to power up to 36W of lights and accessories with a maximum cable length of 100m.

60W Power

LunAqua Connect Power Supply 60W. It will allow you to power up to 60W of lights and accessories with a maximum cable length of 100m.

Connect cables and 3-way splitters

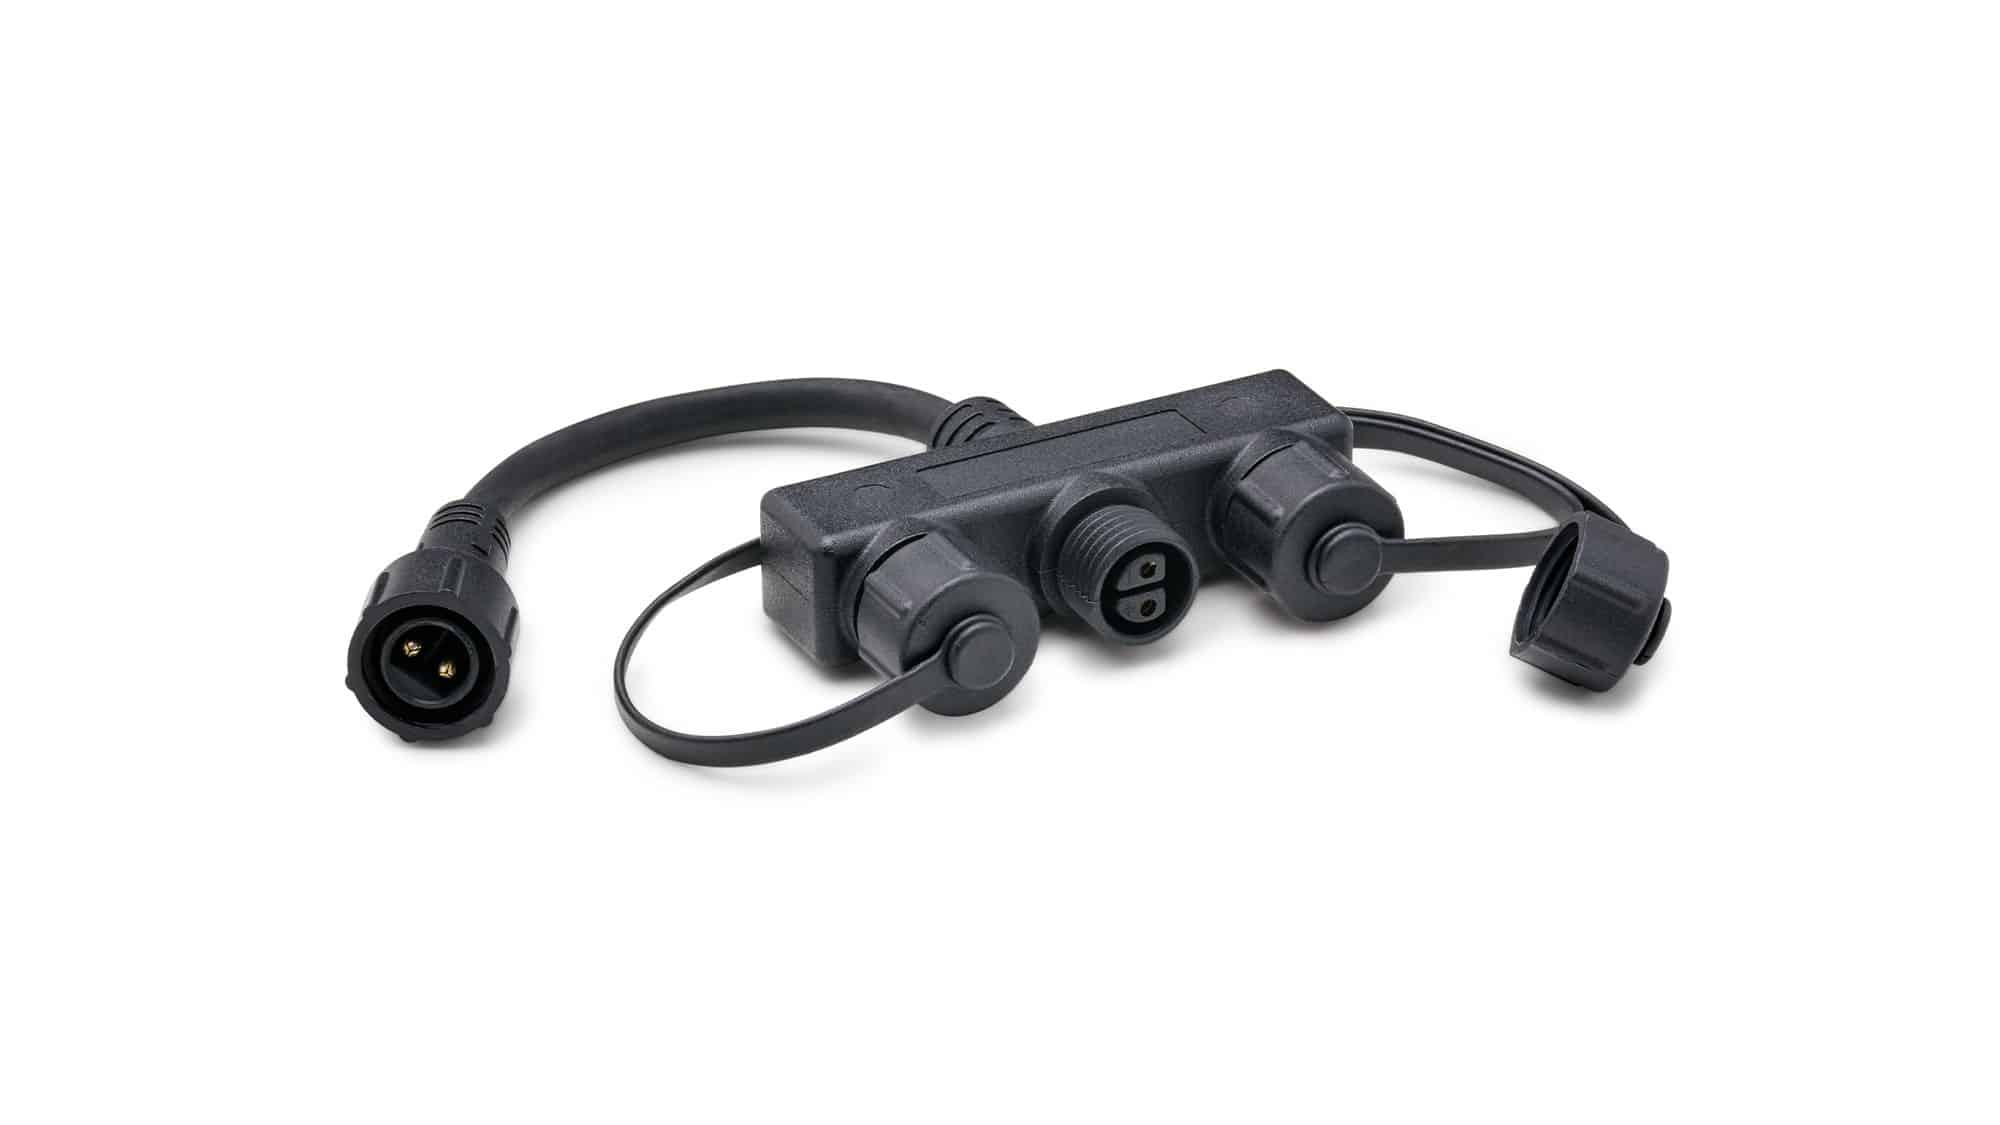
The LunAqua Connect system allows you to connect cables of varying lengths, and branch off with splitters to connect multiple lights together. This modular system means you can branch off in different directions to suit your pond and garden features without complicated wiring. Remember to use the appropriate cables and splitters for white lights and RGB lights. The white lights use 2 pin cables, and the RGB lights use 4 pin cables.

LunAqua Connect W 3way Distributor

LunAqua 3-Way Connector. 2 pin connections allowing you to connect any 3 of the white LunAqua lights to a power supply.  

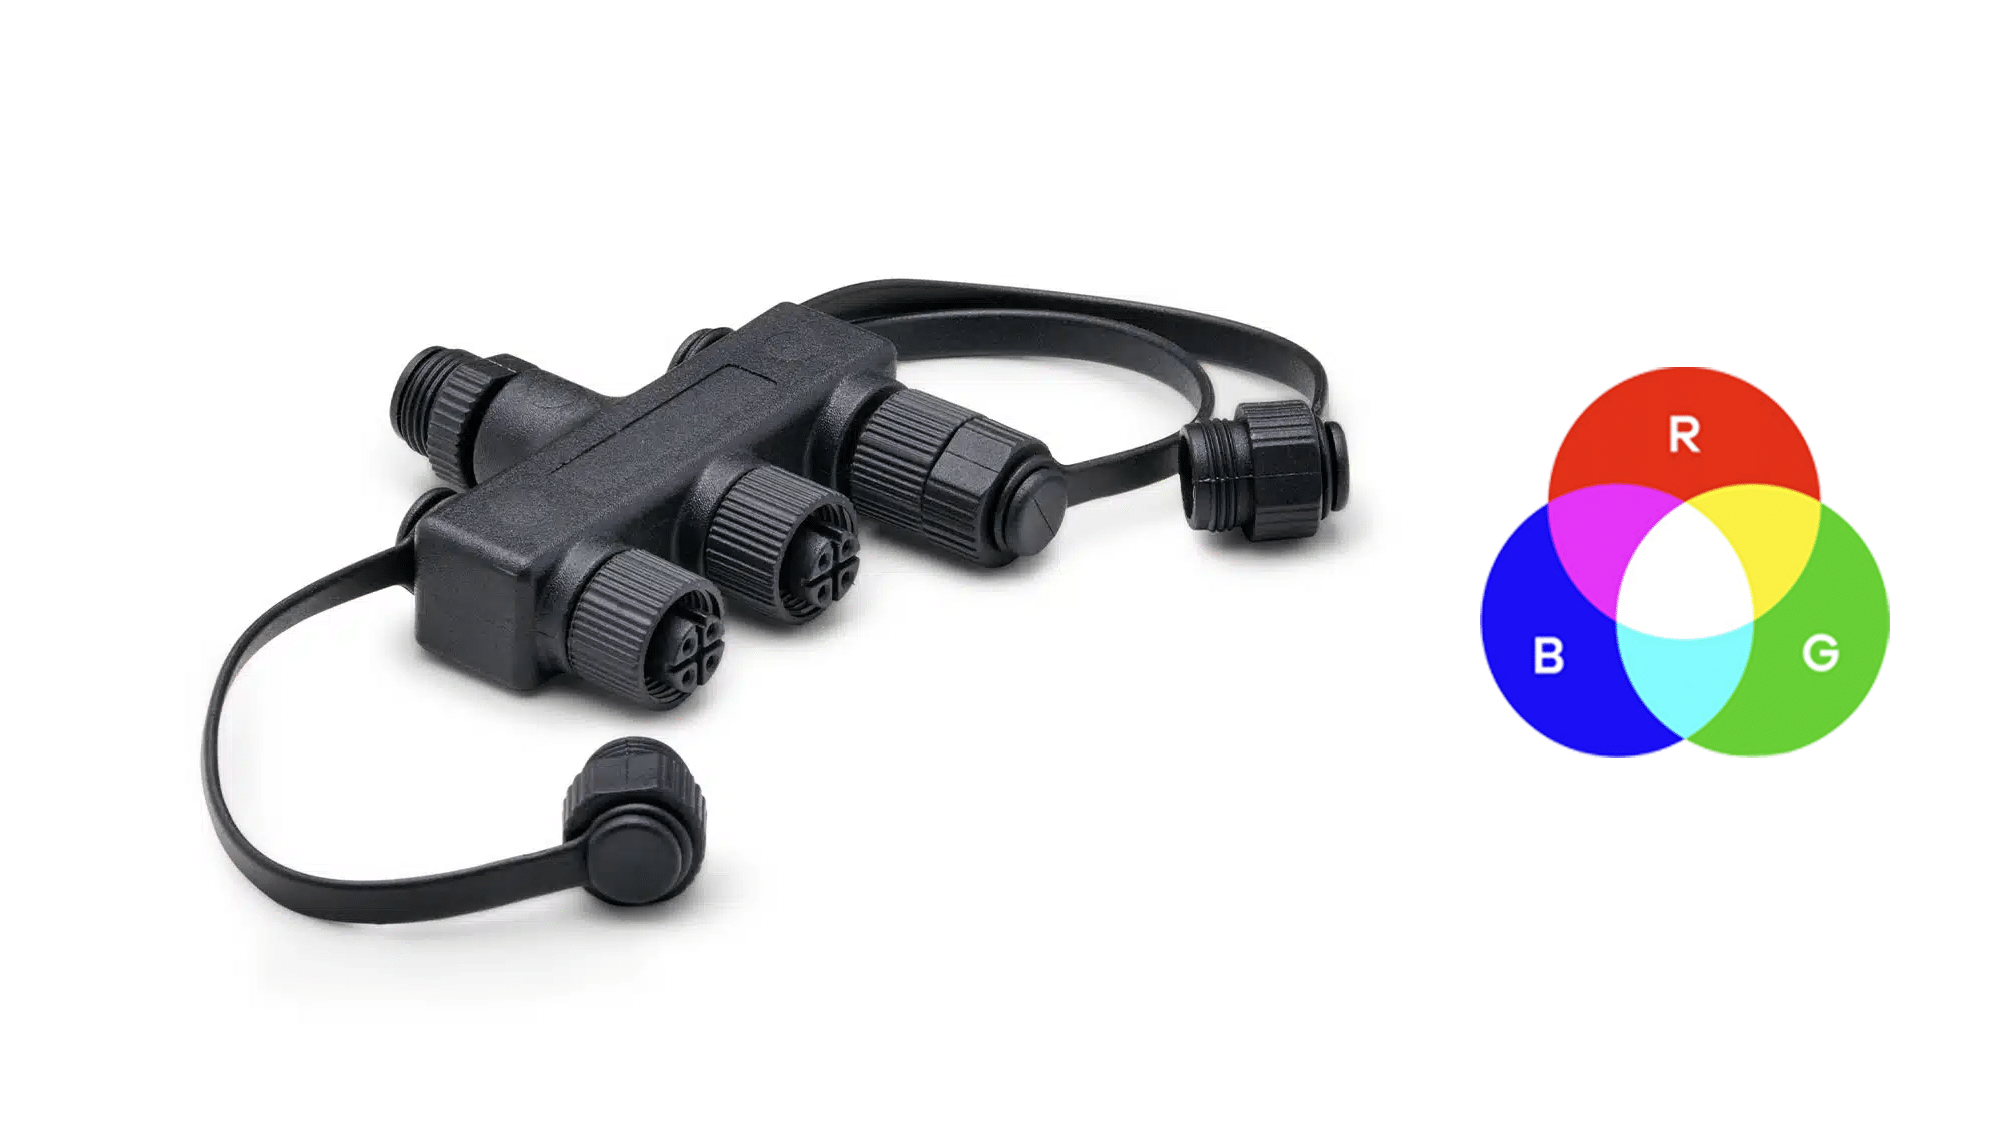
rgb 3 way

LunAqua RGB 3-Way Connector. 4 pin connections allowing you to connect 3 of the RGB LunAqua lights to a Switch Controller.  

LunAqua Connect Easy Switch Controller

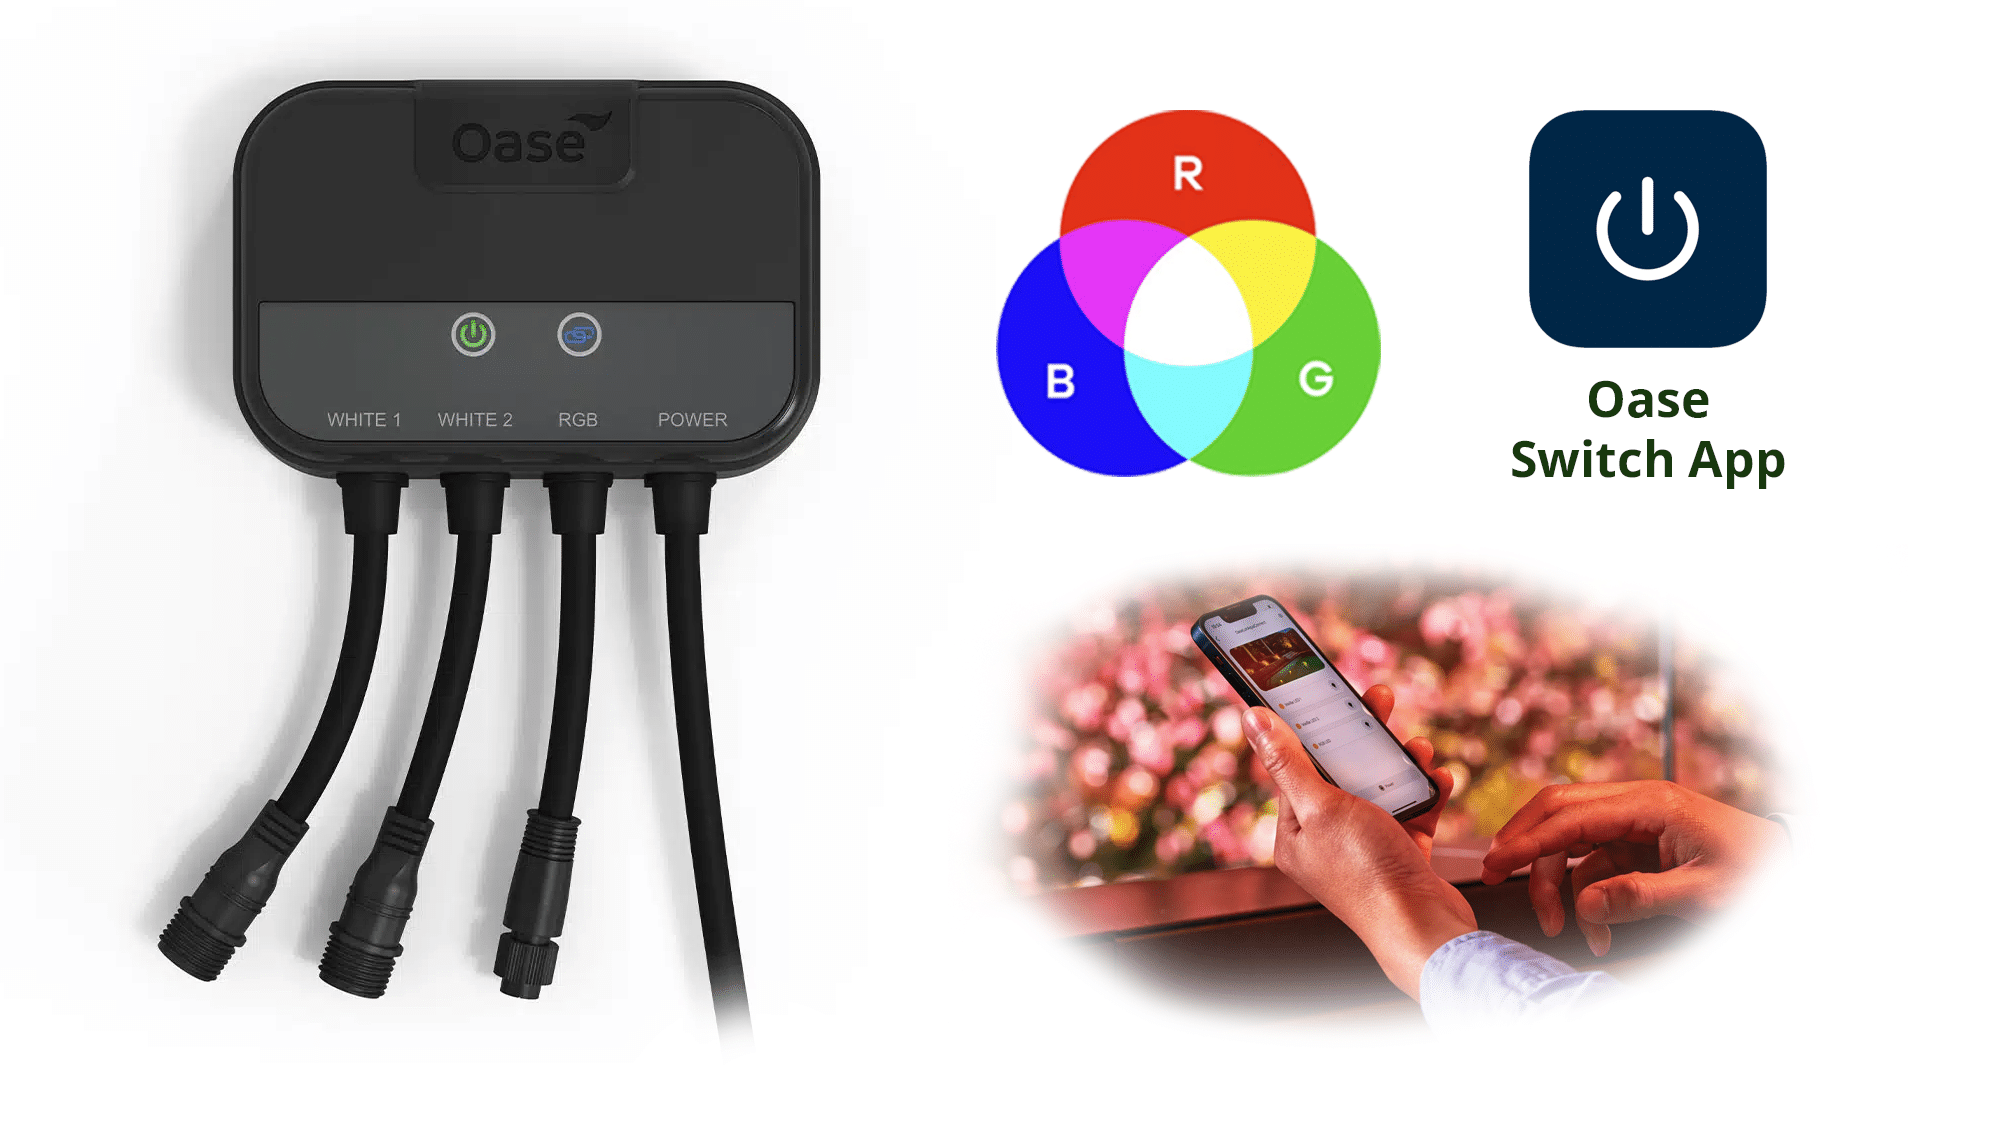
This controller has 2 outlets for white lights and 1 outlet for RGB lights and a 3m cable which connects into your power supply. Using the OASE Switch app you can control all of the lights via Bluetooth, adjusting brightness and colour and also setting lighting cycles so your lights turn on and off automatically. The controller itself also uses 0.5W which you have to take into account when working out how much you can have on one power supply.

This controller is optional for white lights but must be used to run the RGB lights as they are controlled fully from the app.

Control unit

LunAqua Connect Easy Switch Controller. Allows you to control your lights via Bluetooth with the Oase app.

Optional accessories:

  • 5m extension cables for white or RGB lights
  • 10m extension cable with 4 outlets for white or RGB lights
  • Medium white light with 10m cable
  • RGB light with 10m cable

Plan your lighting layout

Good planning saves time and prevents overloads. The total system must not exceed the Wattage of your power supply and must have less than 100m of cables.

Before connecting anything, take time to:

  • Identify which features you want to illuminate (pond, waterfall, tree canopy, shrubs, statue, etc.)
  • Decide where each light will be positioned
  • Estimate cable lengths needed between each light
  • Add up the wattage of all lights to ensure your power supply is powerful enough (always allow spare capacity)
FOT FAM ANW PF 001 600 6000 60029 LunAqua Connect Ausleuchtungsbeispiel 009 SALL AQU V1

Position your lights

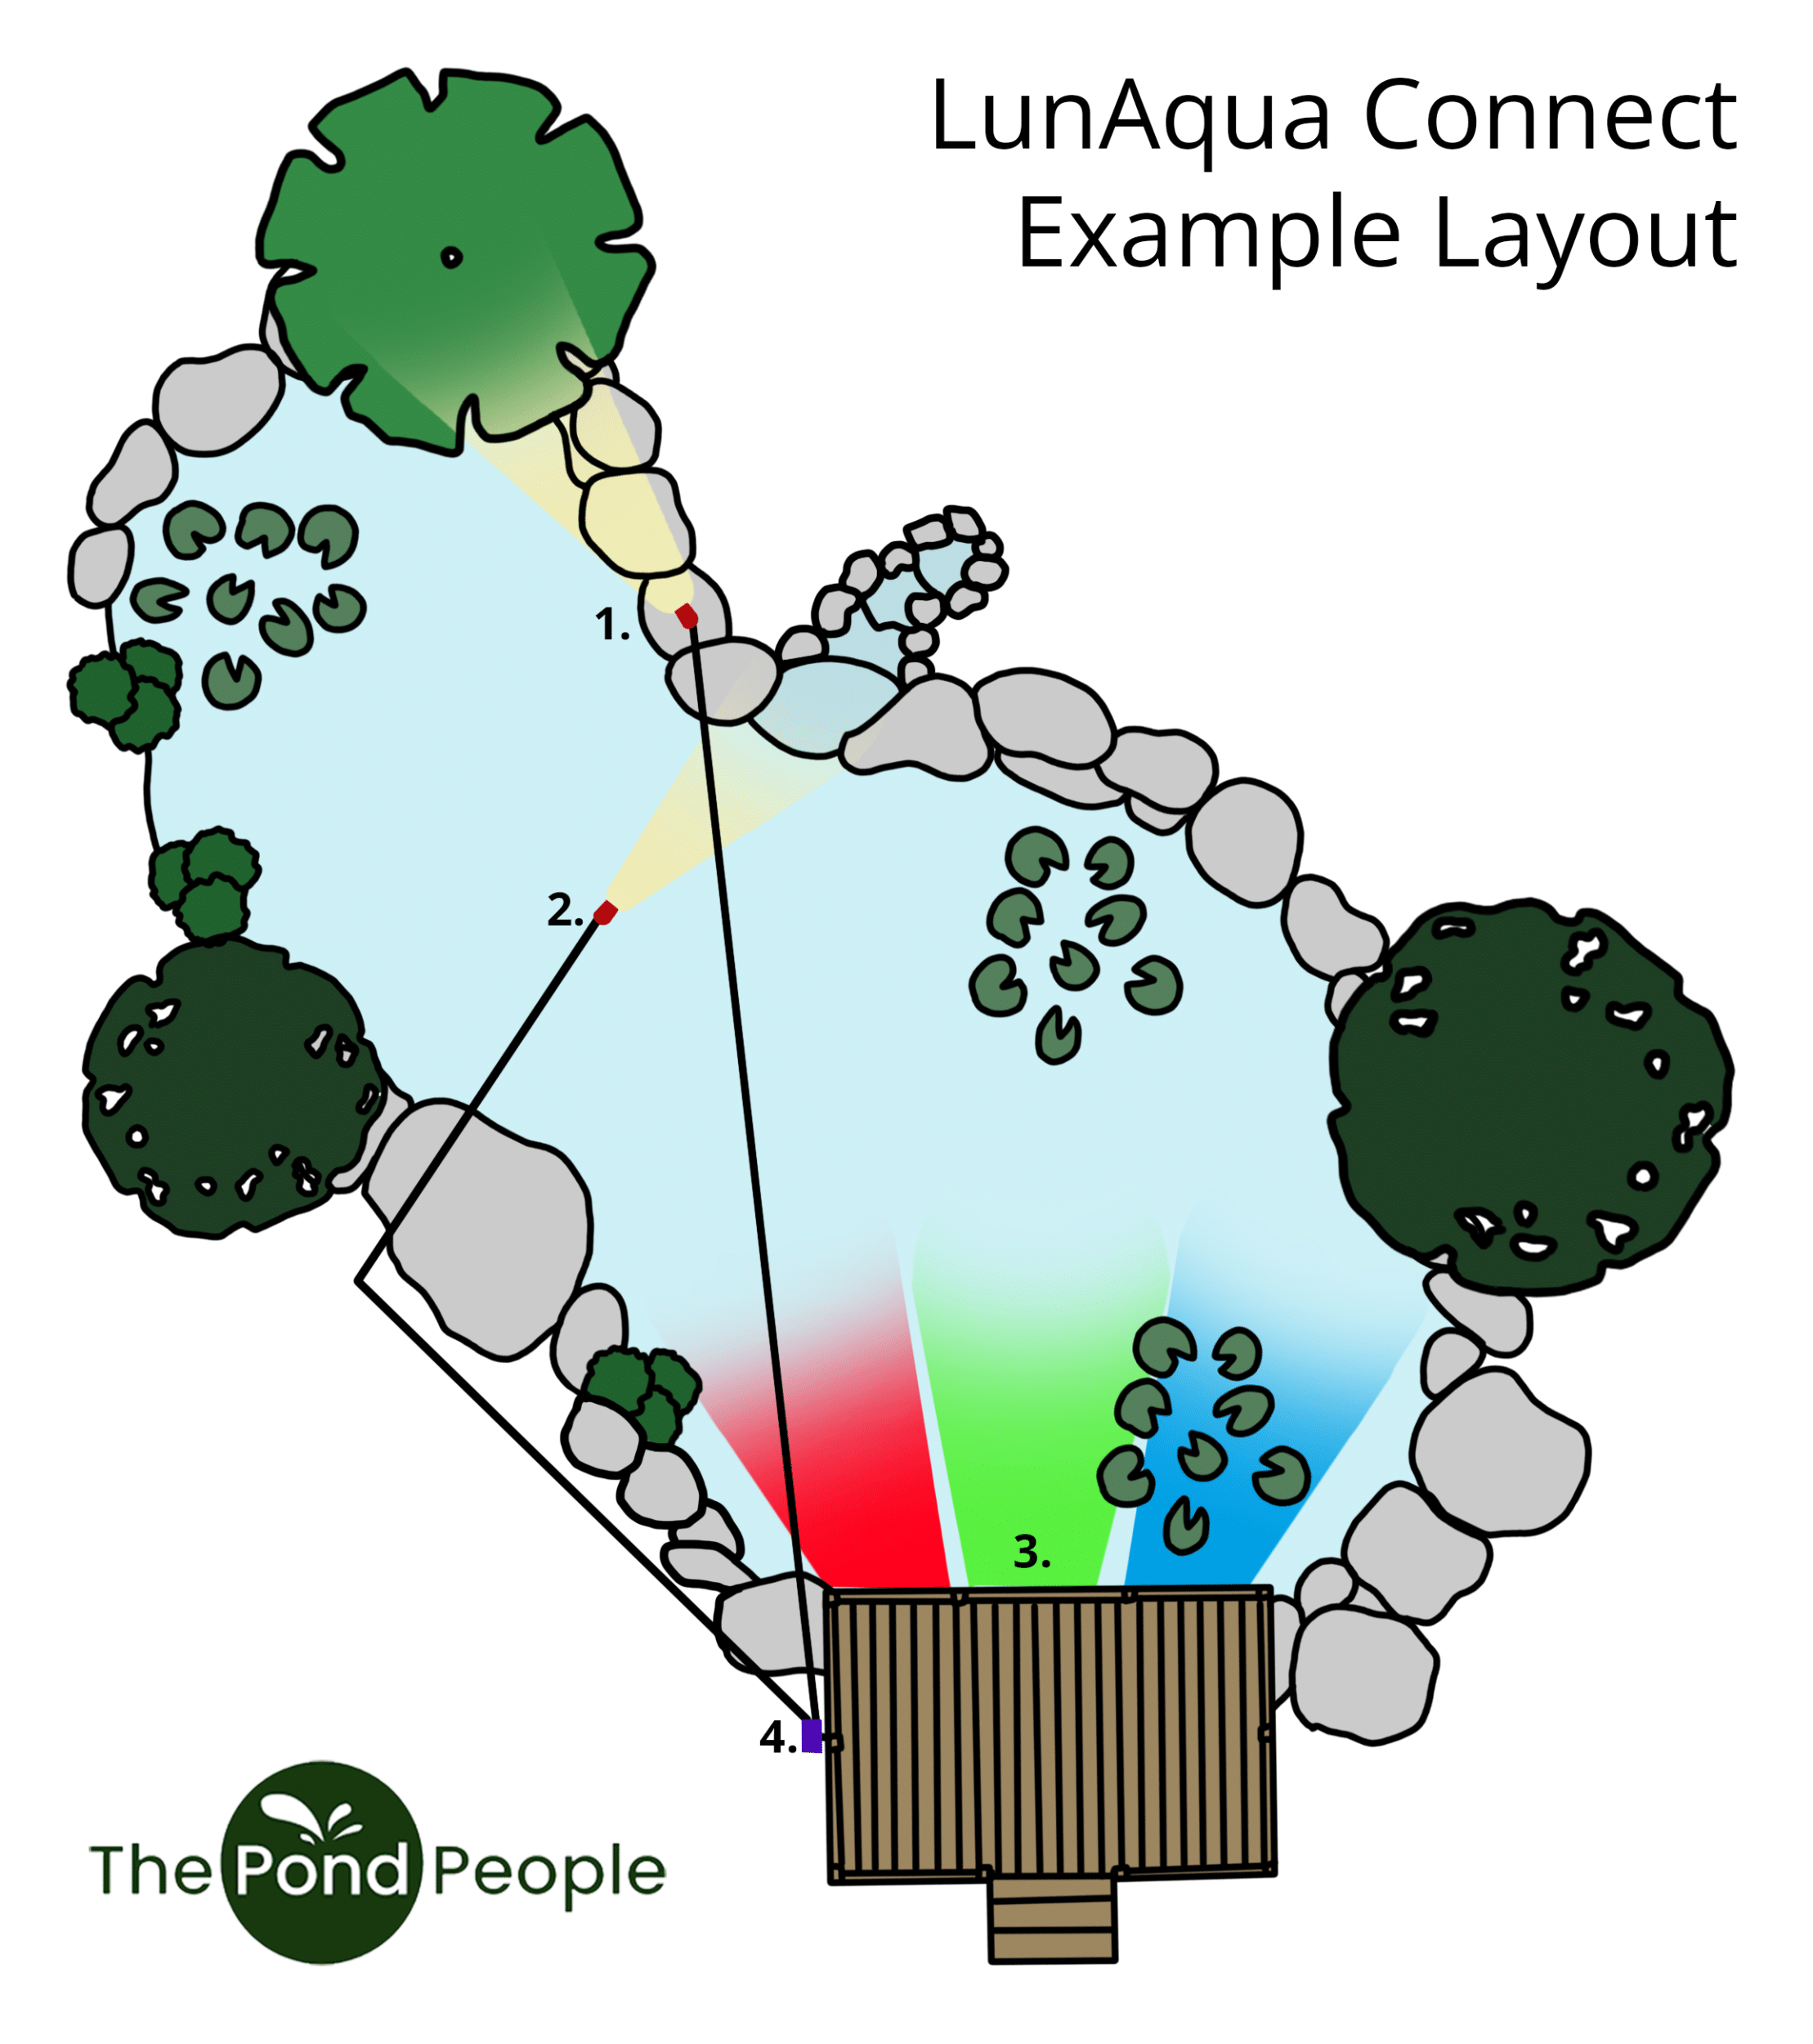
Place your LunAqua Connect lights where you want them before connecting power. Here is an example layout:

  1. LunAqua Connect M solo 10m cable positioned above the water with a ground spike. The light is positioned to illuminate a tree hanging over the pond.
  2. LunAqua Connect M Solo positioned on the bottom of the pond with a weighted base. This is lighting up the waterfall. This has a 5m extension cable running along the side of the pond.
  3. Three LunAqua Connect RGB spotlights are submersed under the deck, shinning out into the pond. These are connected via a 3-way RGB splitter to the switch controller.
  4. LunAqua Connect Switch Easy Controller. The white lights are connected directly to switch controller in this example. And the RGB lights are connected via a 3-way splitter to the same controller.


This set up has a total of 17m of total cable and 31W of power. This could be run on the 36W power supply. Alternatively you could use 60W power supply to provide the option for you to add more lights to the system over time.

At this stage, don’t worry about neat cables — final cable management comes later.

Pond lighting diagram 1

Lay out and connect the cables

Once the lights are positioned, start connecting them using Oase’s waterproof connectors.

  • Connect each light to a LunAqua Connect cable.
  • Use the 3 way connectors to branch off to multiple lights.
  • Hand-tighten all connectors firmly (no tools needed).
  • Keep connectors above ground if possible, and out of the water they are waterproof but not submersible.
  • The system is low voltage, so there’s no need for electrical conduit, making installation simpler and cleaner.

Connect the power supply

  • Plug the LunAqua Connect Power Supply into a weather-protected outdoor mains socket.
  • Connect the 12‑volt output cable from the power supply to the first connector in your lighting chain.
  • Double-check that the total wattage of connected lights does not exceed the power supply’s rating.
  • For safety, always ensure the mains socket is protected by an RCD (Residual Current Device).

Test and adjust

Switch the system on and observe the result.

  • Check that all lights power up.
  • Adjust angles for best visual impact.
  • Add extensions onto the lights to raise them.
  • Look for dark patches or excessive glare.
  • Fine-tune spacing and beam direction.


This is where LunAqua Connect really shines — adjustments are quick and tool-free. Changes  can be made to move lights to illuminate different features in the garden at different times of year.

LunAqua Connect L Solo 2

Final cable management

Once you’re happy with the layout:

  • Bury cables shallowly under soil, gravel, or mulch.
  • Tuck cables under pond edging or behind rocks.
  • Secure excess cable neatly to avoid tangles.
  • Leave a small amount of slack near each light so you can reposition it in the future.

Expanding your system

One of the biggest advantages of LunAqua Connect is expandability. To add more lights later:

  • Ensure your existing power supply has spare wattage capacity.
  • Plug new lights into the nearest connector or tee.
  • Reposition and enjoy new lighting effects.
  • No rewiring, no electrician required.

Maintenance

  • Periodically clean lenses to remove algae or dirt.
  • Check connectors annually for debris or water ingress.
  • Inspect cable routing after heavy weather.
  • Replace drivers or lights only with genuine Oase components.
  • With minimal maintenance, LunAqua Connect systems are built to last for many years.

Summary

Setting up an Oase LunAqua Connect system is straightforward, even for garden lighting beginners. With careful planning, correct sizing of the power supply, and thoughtful positioning, you can achieve stunning night time effects that completely transform your outdoor space.

Whether you’re highlighting a pond, showcasing feature trees, or adding ambiance to a patio, a LunAqua Connect System gives you professional results which you can achieve yourself.

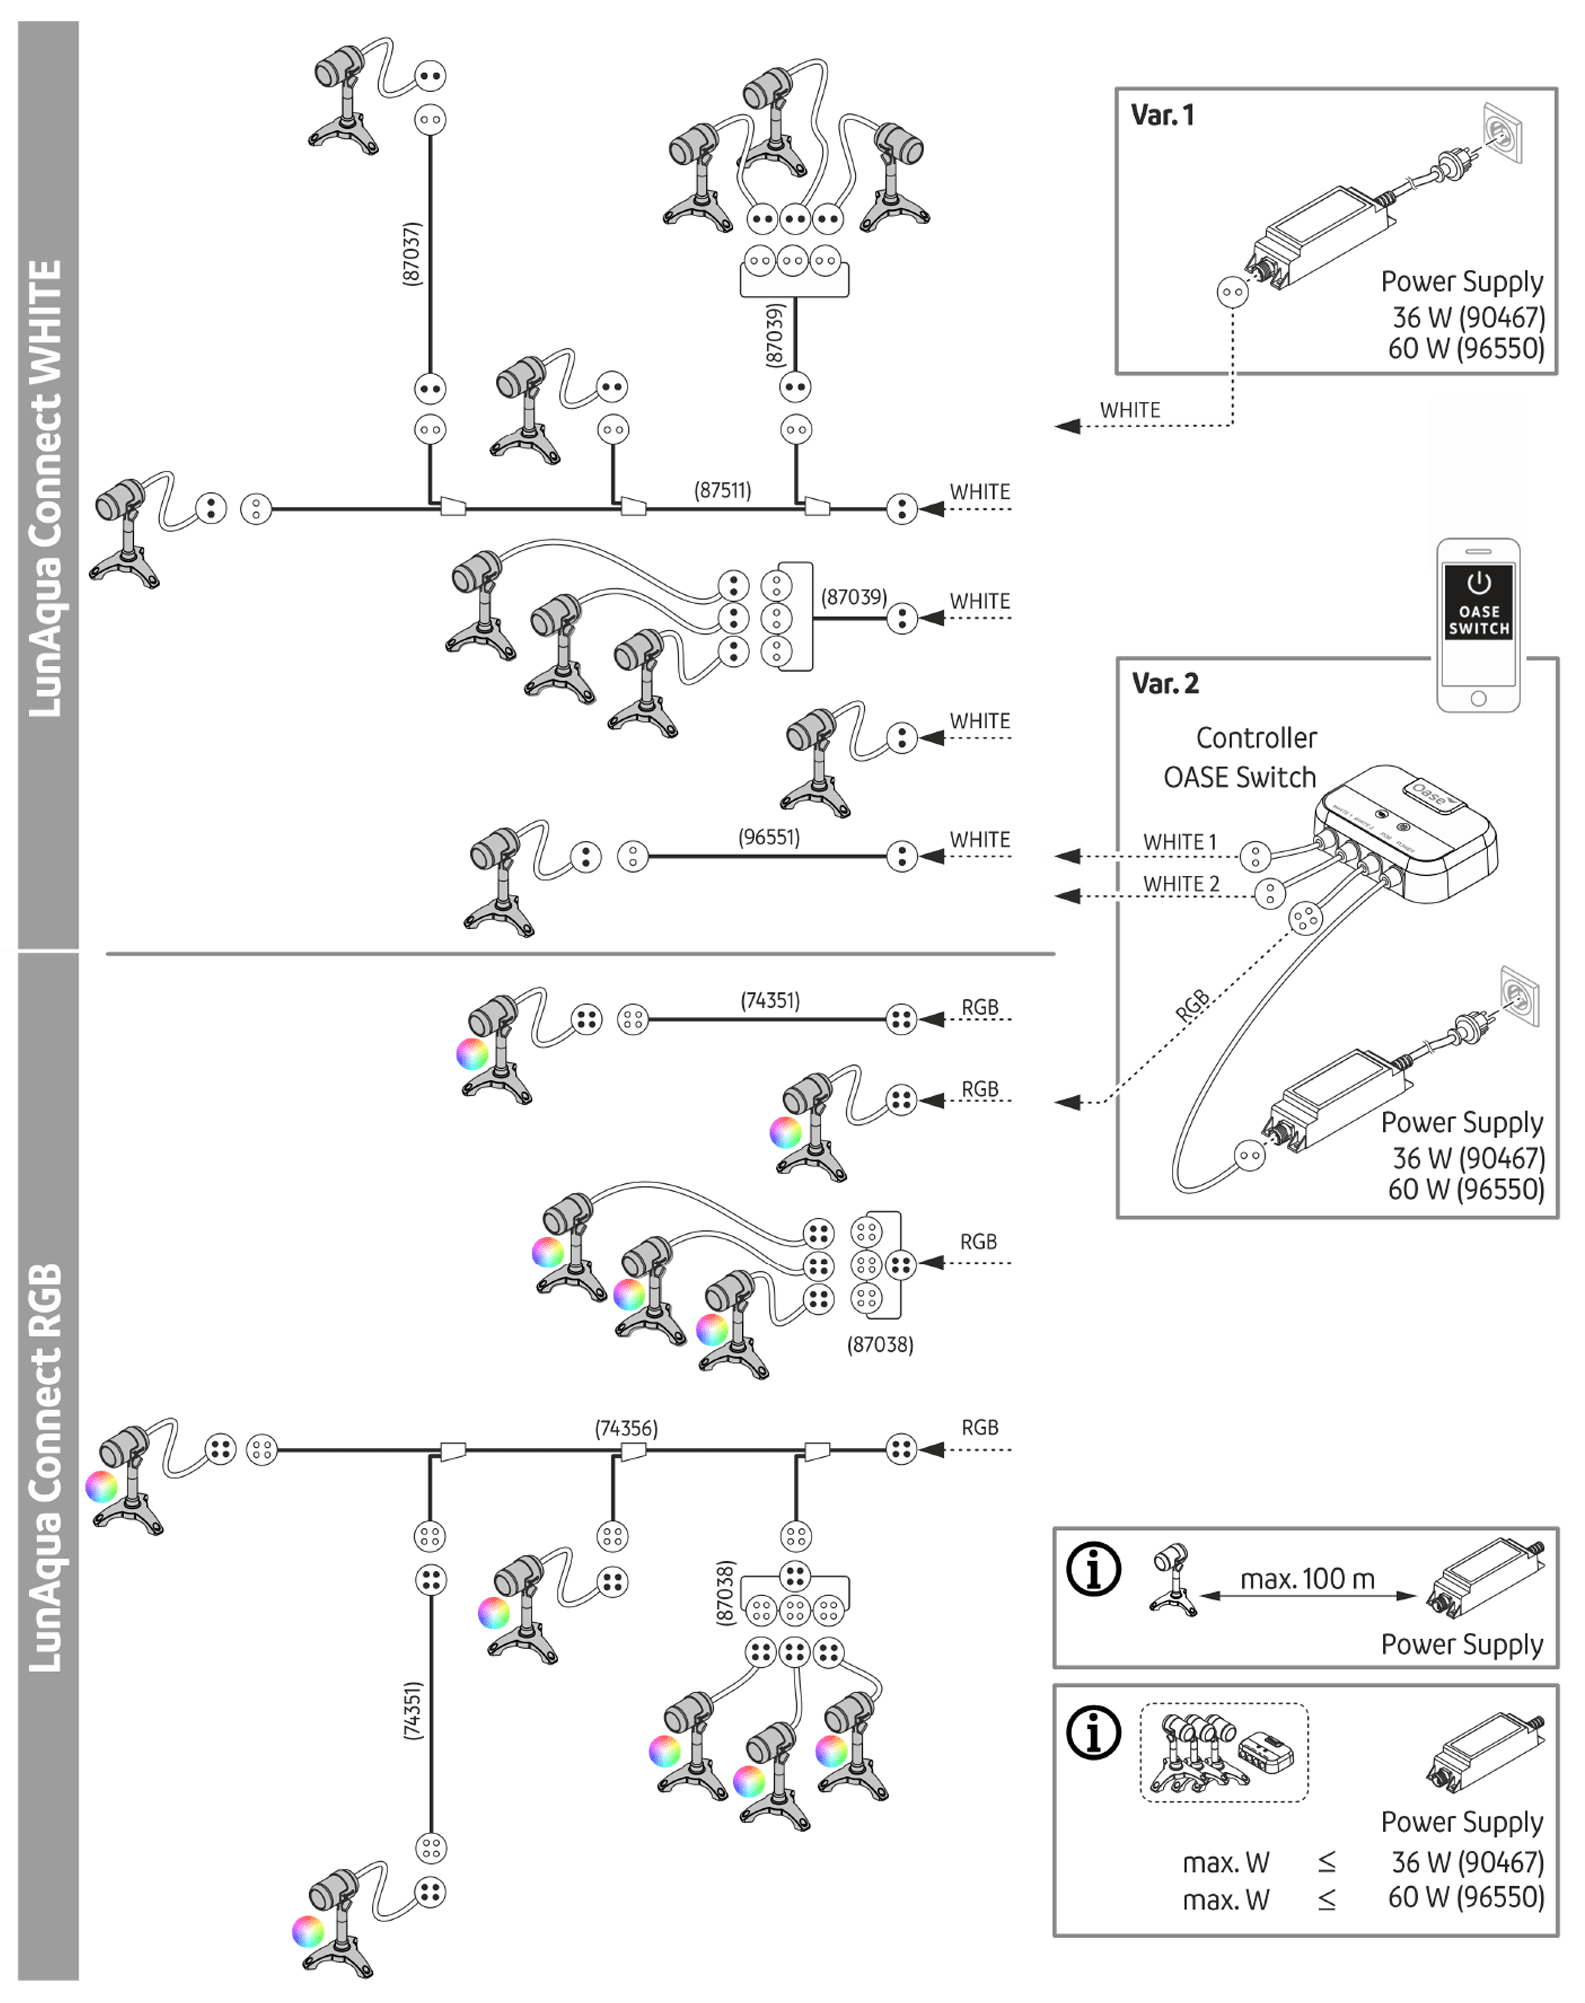
Lighting layouts

Technical drawing of layouts which can be made with the LunAqua Connect System.

Read more articles by The Pond People...